
- Cómo Hacer Fotos y Vídeos con Drones like a Pro
- Antes de despegar: prepara la cámara correctamente
- Conoce la mejor luz para fotografía aérea
- Composición fotográfica con drones
- Cómo hacer fotos espectaculares con drones
- Cómo grabar vídeos cinematográficos con drones
- Los mejores movimientos de cámara con drones
- Ajustes recomendados para grabar vídeos con drones
- Qué son los filtros ND y por qué deberías utilizarlos
- Cómo editar fotos y vídeos grabados con drones
- Errores frecuentes al hacer fotos y vídeos con drones
- Sigue aprendiendo sobre drones
- Faq's: Preguntas frecuentes sobre fotografía y vídeo con drones
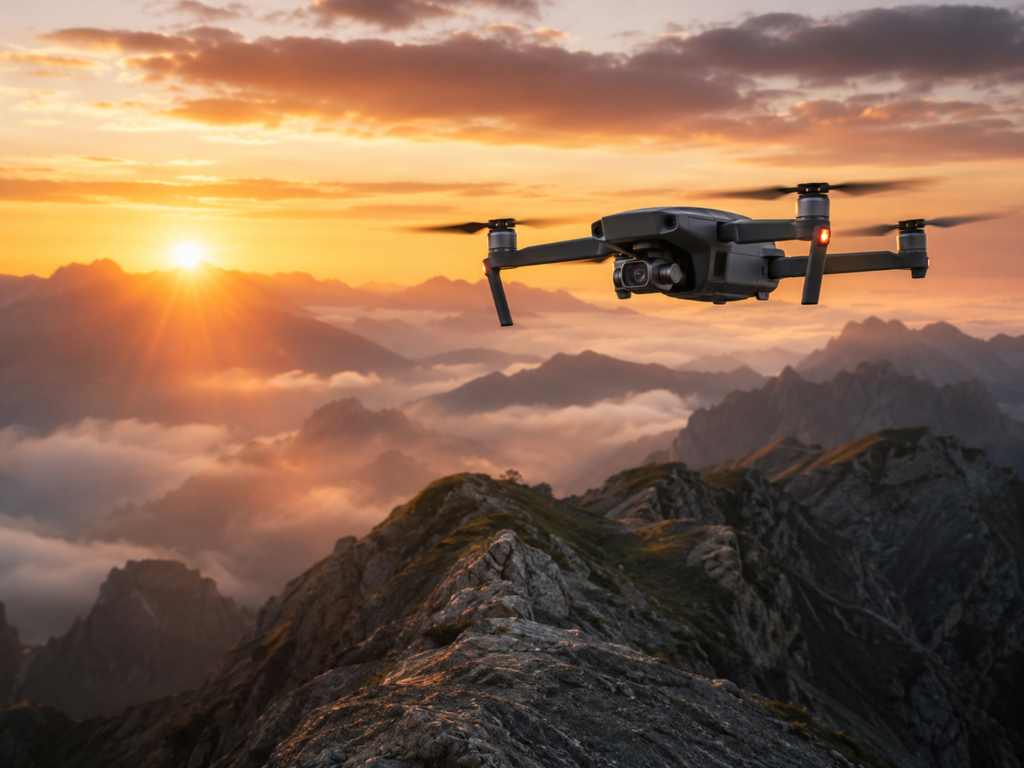
Cómo Hacer Fotos y Vídeos con Drones like a Pro
La popularidad de los drones ha cambiado por completo la forma en que capturamos imágenes y vídeos.
Lo que antes requería helicópteros, grúas o equipos extremadamente costosos, ahora puede conseguirse con drones relativamente compactos y asequibles.
Sin embargo, comprar un drone no garantiza obtener buenas imágenes.
Muchas personas realizan sus primeros vuelos y descubren rápidamente que conseguir fotografías espectaculares o vídeos cinematográficos requiere algo más que pulsar un botón.
La buena noticia es que aprender cómo hacer fotos y vídeos con drones es mucho más sencillo de lo que parece cuando se comprenden algunos principios fundamentales.
En esta guía aprenderás:
- Cómo mejorar tus fotografías aéreas.
- Cómo grabar vídeos más profesionales.
- Qué ajustes de cámara utilizar.
- Qué errores debes evitar.
- Qué movimientos generan mejores resultados.
- Cómo editar posteriormente tus imágenes.
Todo ello orientado tanto a principiantes como a usuarios que quieren mejorar la calidad de sus contenidos.
Antes de despegar: prepara la cámara correctamente
Uno de los errores más habituales consiste en preocuparse únicamente por el vuelo.
Sin embargo, gran parte del resultado final depende de la configuración inicial.
Antes de despegar conviene revisar:
- Resolución de vídeo.
- Formato fotográfico.
- Balance de blancos.
- ISO.
- Velocidad de obturación.
- Perfil de color.
Si tu drone lo permite, resulta muy recomendable disparar fotografías en RAW, ya que ofrecen mucha más flexibilidad durante la edición.
Para vídeo, perfiles como D-Log M o formatos similares permiten conservar más información en luces y sombras.
Conoce la mejor luz para fotografía aérea
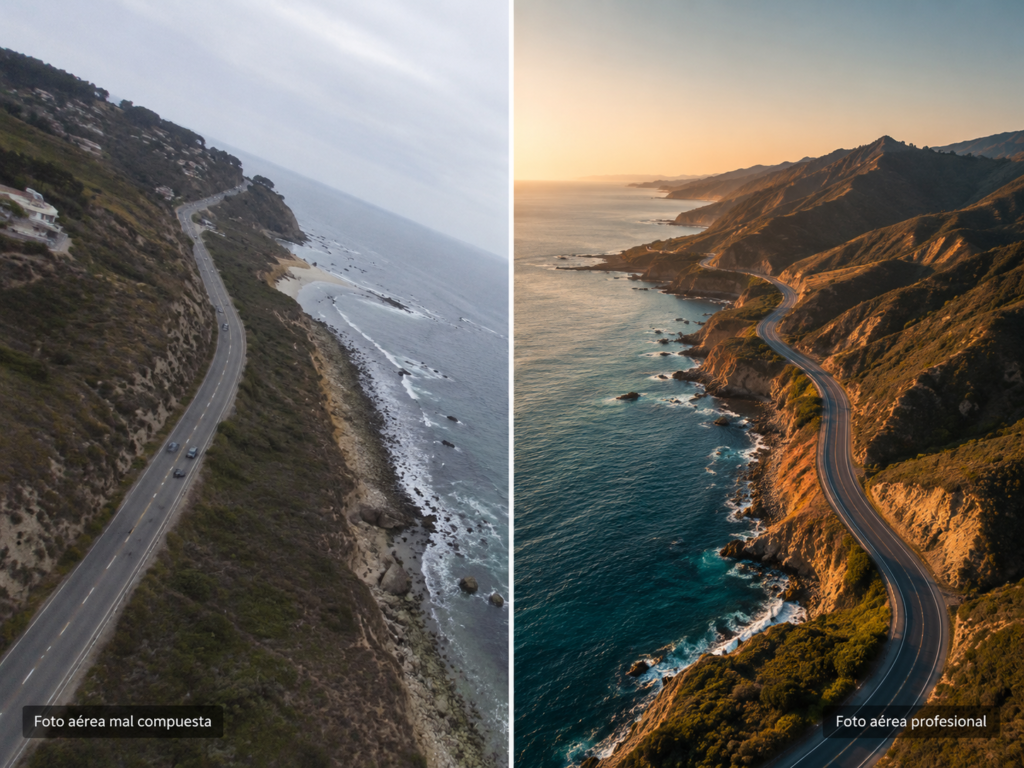
La luz es probablemente el factor más importante en cualquier disciplina fotográfica.
Y en la fotografía con drones ocurre exactamente igual.
La hora dorada
La denominada hora dorada se produce poco después del amanecer y antes del atardecer.
Durante este periodo obtenemos:
- Sombras suaves.
- Colores cálidos.
- Mayor profundidad visual.
- Escenas más atractivas.
Es uno de los mejores momentos para conseguir fotos espectaculares con drones.
Evita las horas centrales
Al mediodía la luz suele ser muy dura.
Esto provoca:
- Sombras excesivas.
- Pérdida de detalle.
- Colores menos atractivos.
Siempre que sea posible, intenta planificar tus sesiones fuera de estas horas.
Composición fotográfica con drones
Si quieres mejorar rápidamente tus resultados, este tutorial oficial de DJI explica algunos de los ajustes de cámara más importantes para fotografía y vídeo aéreo.
Tener una buena cámara no sirve de mucho si la composición es deficiente.
La composición es lo que realmente transforma una fotografía normal en una imagen impactante.
Utiliza la regla de los tercios
La regla de los tercios sigue funcionando extraordinariamente bien en fotografía aérea.
Evita colocar siempre el sujeto principal en el centro.
Distribuir los elementos visuales genera imágenes mucho más atractivas.
Busca patrones y simetrías
Una de las grandes ventajas de los drones es que permiten observar el mundo desde perspectivas poco habituales.
Desde el aire aparecen:
- Carreteras.
- Campos.
- Edificios.
- Costas.
que generan patrones visuales muy interesantes.
Estos elementos suelen funcionar especialmente bien en fotografía aérea profesional.
Juega con la altura
Muchos principiantes vuelan siempre a la misma altura.
Sin embargo, variar la altitud puede cambiar completamente el resultado.
Experimenta con:
- Planos bajos.
- Alturas medias.
- Vistas cenitales.
Cada enfoque transmite sensaciones diferentes.
Cómo hacer fotos espectaculares con drones
Existen varios recursos visuales que suelen funcionar muy bien.
Fotografías cenitales
Las imágenes tomadas completamente desde arriba generan perspectivas sorprendentes.
Son ideales para:
- Playas.
- Bosques.
- Carreteras.
- Campos agrícolas.
Aprovecha las líneas guía
Las carreteras, caminos o ríos ayudan a dirigir la mirada del espectador.
Este recurso se utiliza constantemente en fotografía profesional.
Busca elementos de escala
Personas, coches o edificios ayudan a transmitir mejor las dimensiones del entorno.
Esto aporta profundidad e impacto visual.
Cómo grabar vídeos cinematográficos con drones
La grabación aérea es uno de los principales motivos por los que muchas personas compran un drone.
Sin embargo, existe una enorme diferencia entre grabar desde el aire y conseguir vídeos cinematográficos con drones.
La mayoría de las grabaciones que parecen profesionales comparten una característica común:
Los movimientos son suaves, lentos y perfectamente controlados.
Un error habitual entre los principiantes consiste en mover el drone demasiado rápido.
Esto suele generar vídeos nerviosos y poco agradables de visualizar.
Por el contrario, los mejores resultados suelen obtenerse mediante movimientos progresivos y cuidadosamente planificados.
Los mejores movimientos de cámara con drones
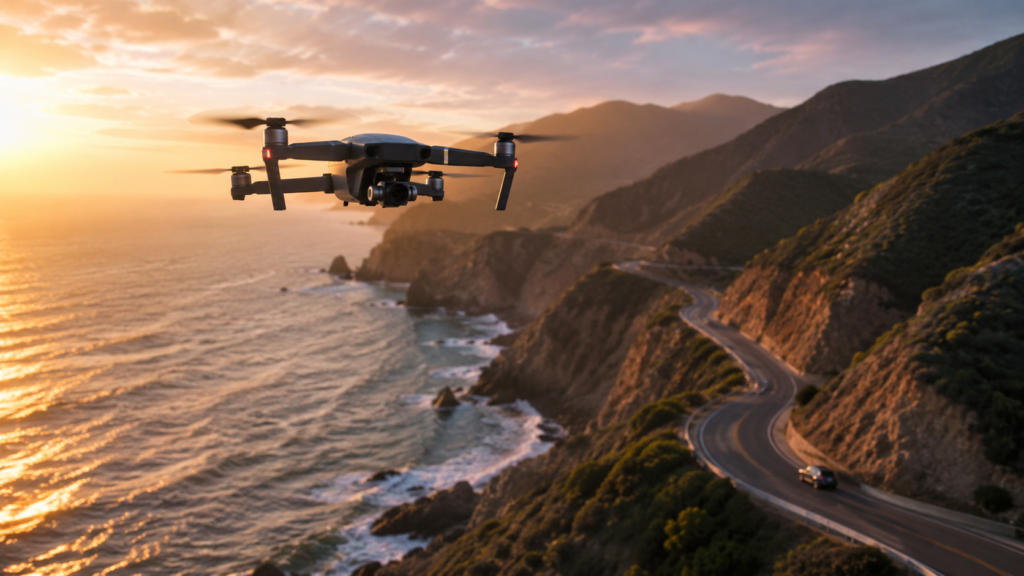
Aprender algunos movimientos básicos puede mejorar enormemente tus vídeos.
Reveal Shot
Uno de los movimientos más utilizados en cine y creación de contenido.
Consiste en ocultar parcialmente el sujeto principal detrás de un elemento:
- Árbol.
- Roca.
- Edificio.
- Montaña.
Y después revelar progresivamente la escena.
Este movimiento genera sensación de descubrimiento y suele funcionar especialmente bien en paisajes.
Orbit Shot
El drone gira alrededor del sujeto mientras mantiene el enfoque constante.
Es ideal para:
- Casas.
- Monumentos.
- Vehículos.
- Personas.
El resultado transmite dinamismo y profundidad.
Dolly In
Consiste en acercar lentamente el drone hacia el sujeto.
Es uno de los movimientos más utilizados para crear tensión visual y destacar elementos importantes.
Pull Away
Es el movimiento contrario.
El drone se aleja progresivamente mostrando cada vez más entorno.
Funciona especialmente bien para finalizar secuencias.
Follow Shot
Uno de los movimientos más populares actualmente.
El drone sigue a:
- Coches.
- Ciclistas.
- Senderistas.
- Embarcaciones.
Muchos drones modernos incorporan sistemas de seguimiento inteligente que facilitan enormemente este tipo de grabaciones.
Ajustes recomendados para grabar vídeos con drones
Los ajustes de cámara tienen una enorme influencia sobre el resultado final.
Graba en 4K siempre que sea posible
Incluso si posteriormente exportas en Full HD.
Trabajar en 4K proporciona:
- Más detalle.
- Mayor margen de edición.
- Mejor calidad final.
Utiliza perfiles de color avanzados
Si tu drone lo permite, perfiles como:
- D-Log M
- D-Cinelike
- Log
ofrecen mucha más flexibilidad durante la corrección de color.
Especialmente en modelos como:
- DJI Mini 4 Pro.
- DJI Air 3.
- DJI Mavic 3.
Mantén el ISO lo más bajo posible
Un ISO elevado genera ruido digital.
Siempre que la luz lo permita, intenta utilizar valores bajos.
Esto mejorará significativamente la calidad de imagen.
Qué son los filtros ND y por qué deberías utilizarlos
Uno de los accesorios más utilizados en grabación profesional con drones son los filtros ND.
Los filtros ND para drones funcionan de forma similar a unas gafas de sol para la cámara.
Su objetivo es reducir la cantidad de luz que entra en el sensor.
Gracias a ello es posible:
- Utilizar velocidades de obturación más adecuadas.
- Conseguir movimientos más naturales.
- Obtener desenfoques de movimiento más cinematográficos.
Por este motivo, muchos creadores consideran los filtros ND una compra prácticamente obligatoria para grabar vídeo de calidad.
Los filtros ND pueden marcar una enorme diferencia en la calidad visual de tus grabaciones. Este tutorial muestra de forma práctica cuándo utilizarlos y cómo elegir el filtro adecuado según las condiciones de luz.
Cómo editar fotos y vídeos grabados con drones
La edición es la fase donde muchas imágenes pasan de ser buenas a convertirse en excelentes.
No es necesario realizar ajustes extremos.
Pequeñas correcciones suelen ser suficientes.
Edición fotográfica
Para las fotografías puedes utilizar herramientas como:
- Adobe Lightroom.
- Photoshop.
- Luminar Neo.
Los ajustes más habituales incluyen:
- Contraste.
- Exposición.
- Sombras.
- Luces.
- Balance de blancos.
- Nitidez.
Edición de vídeo
Para vídeo, algunas de las herramientas más populares son:
- DaVinci Resolve.
- Adobe Premiere Pro.
- Final Cut Pro.
Durante la edición puedes:
- Corregir color.
- Estabilizar tomas.
- Añadir música.
- Crear transiciones.
- Ajustar la velocidad.
Esto permite obtener resultados mucho más profesionales.
Errores frecuentes al hacer fotos y vídeos con drones
Muchos usuarios cometen errores similares durante sus primeras sesiones.
Volar demasiado rápido
La velocidad excesiva suele arruinar muchas grabaciones.
Los movimientos lentos suelen ofrecer mejores resultados.
Grabar siempre desde la misma altura
Variar la altitud aporta riqueza visual y perspectivas diferentes.
Ignorar la luz
Incluso el mejor drone produce resultados mediocres con mala iluminación.
La planificación sigue siendo fundamental.
No revisar la composición
Muchos pilotos se centran únicamente en el vuelo.
Sin embargo, la composición es igual de importante que la técnica.
No editar el material
La edición permite extraer todo el potencial de las imágenes capturadas.
Incluso pequeños ajustes pueden transformar completamente el resultado final.
Conclusión
Aprender cómo hacer fotos y vídeos con drones va mucho más allá de dominar el vuelo.
La verdadera diferencia entre una grabación amateur y una producción profesional suele encontrarse en aspectos como la planificación, la composición, la iluminación y la edición posterior.
Afortunadamente, los drones actuales permiten acceder a herramientas y tecnologías que hace apenas unos años estaban reservadas para producciones mucho más costosas.
Con práctica, paciencia y aplicando los consejos de esta guía, podrás mejorar significativamente la calidad de tus imágenes aéreas y conseguir resultados cada vez más espectaculares.
Lo importante es recordar que cada vuelo representa una oportunidad para aprender algo nuevo y desarrollar tu propio estilo visual.
Sigue aprendiendo sobre drones
Faq’s: Preguntas frecuentes sobre fotografía y vídeo con drones
La hora dorada, poco después del amanecer y antes del atardecer, suele ofrecer las mejores condiciones de luz para la fotografía aérea.
Si tu drone lo permite, el formato RAW ofrece una mayor capacidad de edición y suele proporcionar mejores resultados finales.
La clave está en combinar:
Movimientos suaves.
Buena planificación.
Ajustes adecuados.
Edición posterior.
Además, el uso de filtros ND suele mejorar considerablemente la calidad visual.
Dependerá del presupuesto y las necesidades.
Sin embargo, modelos como el DJI Mini 4 Pro o el DJI Air 3 destacan por sus excelentes capacidades fotográficas.
Son filtros que reducen la cantidad de luz que entra en la cámara, permitiendo grabar vídeos más naturales y cinematográficos.
No es obligatorio.
Sin embargo, una edición básica suele mejorar notablemente el resultado final.
Siempre que sea posible, resulta recomendable grabar en 4K, incluso si el proyecto final se exportará en una resolución inferior.
Algunas de las mejores prácticas son:
Aprovechar la hora dorada.
Disparar en RAW.
Mejorar la composición.
Buscar perspectivas originales.
Editar las imágenes posteriormente.